Are you looking for how to install blinds or shades? You’re at the right spot. Blinds and shades both control light precisely and offer better insulation. Beyond differences in construction, their installation procedure is somewhat similar. Meanwhile, they involve attaching brackets to the window frames, installing head rails, and securing them. But is it enough?
There’s much more to know about how you can install blinds or shades professionally, preventing any damage. Keeping this in view, Blinds&Curtain is going to share a step-by-step process with you. It will help you learn everything about effective blinds & shades installation. So, without further ado, let’s check out this guide.
101 Guide To Install Blinds or Shades Perfectly
We have mentioned all the steps that you must know when starting with the shades or blinds fixing. From the required tools to testing your window coverings after installation, we discussed every step below.
- The Required Tools
- Measuring Windows
- Marking Bracket Positions
- Drilling Pilot Holes
- Attaching Mounting Brackets
- Installing & Securing Headrails
- Attaching the Wand or Cords
- Hold Down Brackets For Stability
- Testing The Window Coverings
1. The Required Tools
Firstly, you need to collect all the required tools to avoid delays and complexities during the work. You have various common to advanced tools, while each has its role and importance. Let us mention the most important ones below.
- Measuring Tape & Pencil
- Drill & Drill Bits
- A Step Ladder & Leveler
- Screwdriver & Stud Finder
- Anchors & Safety Glasses
Once you have these tools, go for the next steps.
2. Measuring Windows
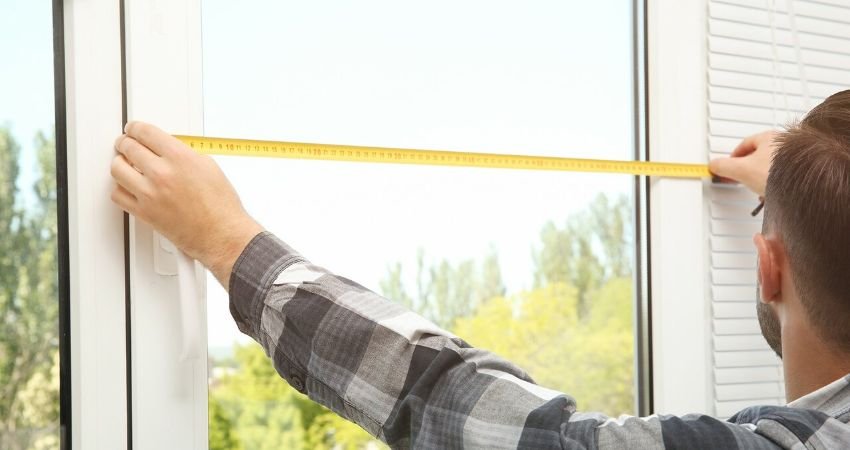
To measure your windows accurately for blinds & shades installation, you must finalize the mount type first. This is because you have to measure inside the frame for inside mount, and outside the frame for outside mount. After that, use a measuring tape and record the width and height.
We recommend measuring in three places for accurate results, such as the top, middle, and bottom. It works best for sliding windows, casement, and double-hung windows.
3. Marking Bracket Positions
Marking the right bracket positions is super important to have perfectly aligned window coverings. Whether you’re installing vertical blinds or roller blinds, hold the blinds & use a leveler to ensure alignment. After that, mark screw holes with a pencil. To avoid issues, always double-check and then drill.
4. Drilling Pilot Holes
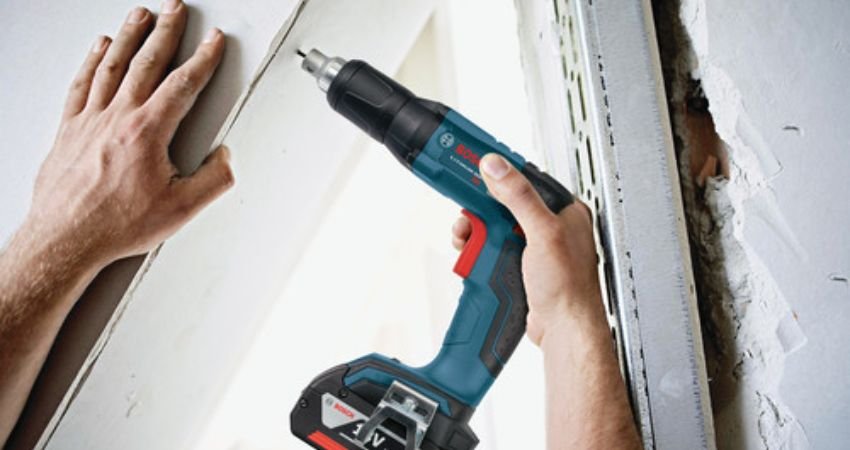
Drilling pilot holes is the step that must be done carefully to prevent wall damage. You need to select the perfect drill bit slightly smaller than your screws for a tight fit. Start drilling at a low speed in a straight direction and put pressure on the metal to prevent lifting. It secures your brackets and prevents cracking.
5. Attaching Mounting Brackets
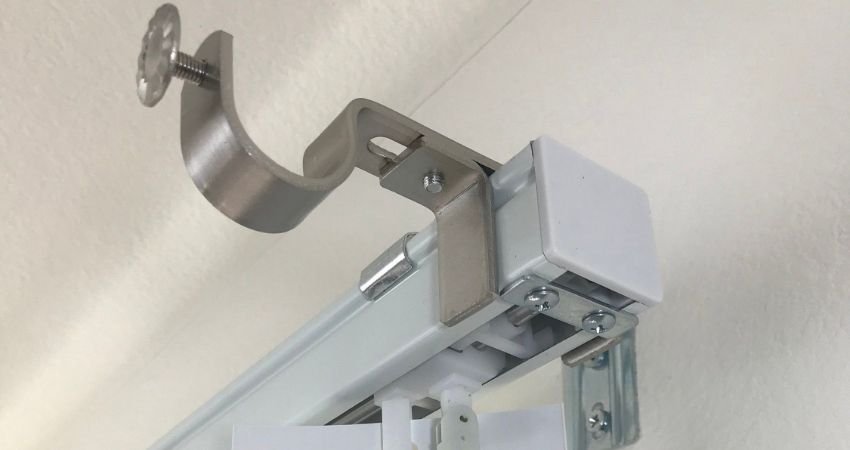
Here, you need a screwdriver or a drill to attach mounting brackets over the pilot holes. We recommend you use plastic anchors for extra grip, especially when you are mounting on drywall. You must ensure that the brackets are tight and level to prevent blinds or shades from lifting. Plus, do not over tight the screws because it causes jamming issues & crooked blinds.
6. Installing & Securing Headrails
Installing headrail is a strategic technique; lift it and place it into the brackets, and continue pushing until you feel it snap in. In some types of brackets designs, you have to tighten a small screw responsible for the holding. Ensure your headrail is properly fixed, so your blinds or shades work seamlessly.
7. Attaching Wand or Cord
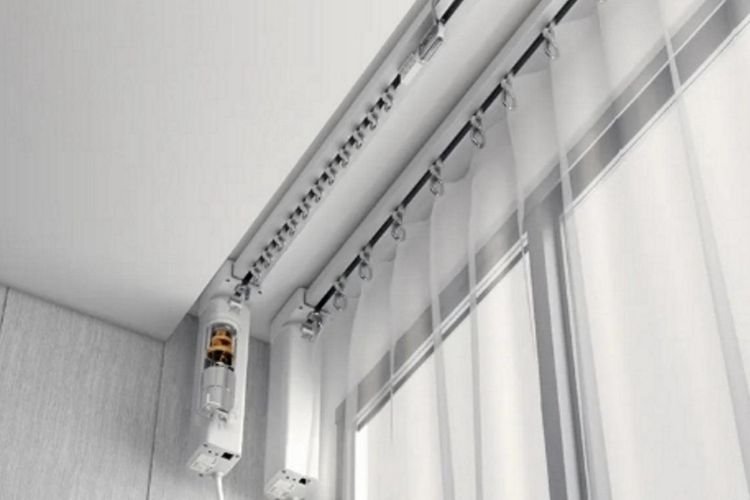
Your cords and wands are responsible for the blinds & shades operating. Using wands, you can open or close the blind slats, especially vertical blind slats. In contrast, cords are pulled to lower, raise, or tilt blinds. However, you can eliminate installing both of these if you’re going to motorize the window coverings.
However, headrails feature small holes for hooks for wands & cords. You have to twist in or check whether they move smoothly or not.
8. Hold Down Brackets For Stability
Stability is always a priority, whether you’re installing home, apartment, or office blinds. And yes, that’s where hold-down brackets come in. They are small clips that hold your blinds & shades and prevent swinging and banging when opening & closing. You can simply install them by aligning the brackets with the bottom rail ends and screwing them into the door surface, or wall.
9. Testing The Window Coverings
Now, you’re done with everything, and it’s time to inspect whether your blinds or shades are working smoothly or not. For this, open and close them fully to ensure movement without slipping or sticking. Tilt your blind slats on different angles, verify the headrail is secure, and check screws are properly tight.
Pay attention – If you have motorized window blinds, then check for their proper opening & closing with a remote controller, mobile application, wall mount switches, and voice assistants.
The Bottom Line
Finally, we shared everything about how to install blinds or shades in this article. We discussed the essential tools required to start the process and the rest of the steps, including the window measurement, choosing mount type, and marking bracket positions. You must drill the pilot holes to attach the mounting brackets and then go for securing them.
Install headrails to attach the cord mechanism or wand, and hold down brackets for added stability. We recommend that you don’t forget to test the window covering operation and ensure smooth operations. In case of any confusion, hire our expert services and install your blinds or shades flawlessly.